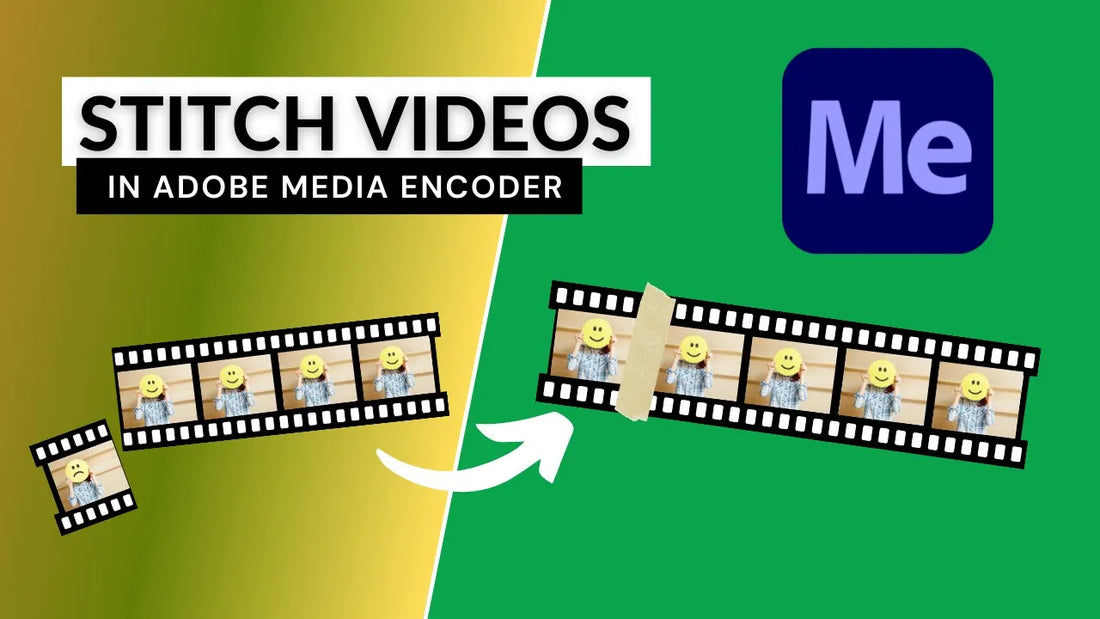
Merge Clips in Adobe Media Encoder: A Step-by-Step Guide
Share
Looking to combine multiple video clips into one seamless file? Adobe Media Encoder makes merging clips quick and easy! In this guide, we’ll walk you through the steps to stitch your footage together efficiently.
How to Merge Clips in Adobe Media Encoder
1. Open Adobe Media Encoder
- Go to File and select Add Source.
- Select Your Clips
- Locate the folder containing your footage.
- Choose the clips you want to merge, check the Stitch Clips Together option, and click Open.
2. Rearrange as Needed
- In the Show to Sources panel, ensure your clips are in the correct order. Drag and rearrange them if necessary.
- Select a format (e.g., H.264) and a preset like Match Source – High Bitrate to match the original quality.
- Pick where you want to save the merged file, then click Save.
- Hit the Play button to begin the merging process.
Shortcut Tip
You can also drag and drop your clips directly into the Drop Here to Stitch Clips Together area, saving even more time!
With these simple steps, you’ll have a polished, merged video file ready to go.
Final Thoughts
Whether you’re working on a video project or simply combining vacation footage, Adobe Media Encoder offers a seamless way to merge clips. For more tips, watch the video tutorial on this topic and subscribe for more editing hacks!


