The Best OBS Recording Settings for High and Low-End PCs
Share
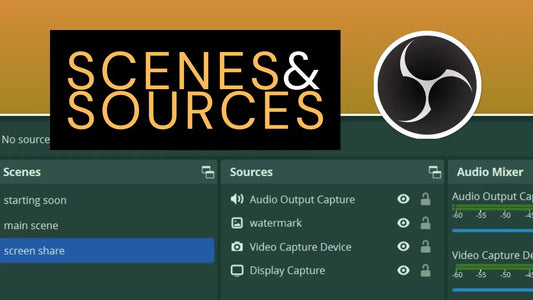
Are you struggling to find the best OBS Studio recording settings for your computer? Whether you have a high-end PC or a lower-end setup, choosing the right settings can make all the difference in video quality and performance. In this guide, we'll walk you through the optimal OBS recording settings for smooth and high-quality recordings.
Step 1: Create a Profile
Start by setting up a dedicated profile in OBS Studio:
- Open OBS Studio and go to Profile > New.
- Name it "Best Recording Settings" and click OK.
This ensures that all the settings you configure are saved under this profile.
Step 2: Adjust Video Settings
Navigate to Settings > Video and adjust the following:
- Base (Canvas) Resolution: Set this to your monitor's native resolution (e.g., 1920x1080).
-
Output (Scaled) Resolution:
- High-end PC: Keep it the same as the base resolution.
- Low-end PC: Lower it to 1280x720 or lower for better performance.
-
Downscale Filter:
- Lanczos (Best quality, requires more CPU/GPU power).
- Bicubic (Balanced performance and quality).
-
FPS (Frames Per Second):
- 60 FPS for smooth gameplay recordings (requires a powerful PC).
- 30 FPS for lower-end computers to reduce CPU load.
Step 3: Configure Audio Settings
Go to Settings > Audio and ensure that your input sources are correct:
- Desktop Audio: Set to default to capture system sounds.
- Mic/Auxiliary Audio: Select your external microphone if you're using one.
-
Audio Bitrate:
- 128 kbps for lower resolutions (852x480).
- 256 kbps for higher resolutions (1280x720, 1920x1080).
Step 4: Set Up Output Settings
Navigate to Settings > Output and change the Output Mode to Advanced. Then, adjust the following:
Recording Tab:
- Recording Format: Use MKV (prevents file loss if OBS crashes). Enable "Automatically Remux to MP4" under the Advanced tab.
-
Encoder:
- NVIDIA GPU (NVENC H.264) for high-end systems.
- x264 (CPU encoding) for low-end PCs.
-
Rate Control:
- CQP (for NVENC) - set CQ Level to 20.
- CRF (for x264) - use CRF 20 for quality balance.
- Profile: Set to High for the best quality.
Final Thoughts
By following these optimized OBS Studio settings, you'll achieve smooth and high-quality recordings regardless of your PC's power. For a detailed walkthrough, check out our YouTube video: Watch Here.
Don't forget to like, subscribe, and share for more OBS tutorials and video production tips!