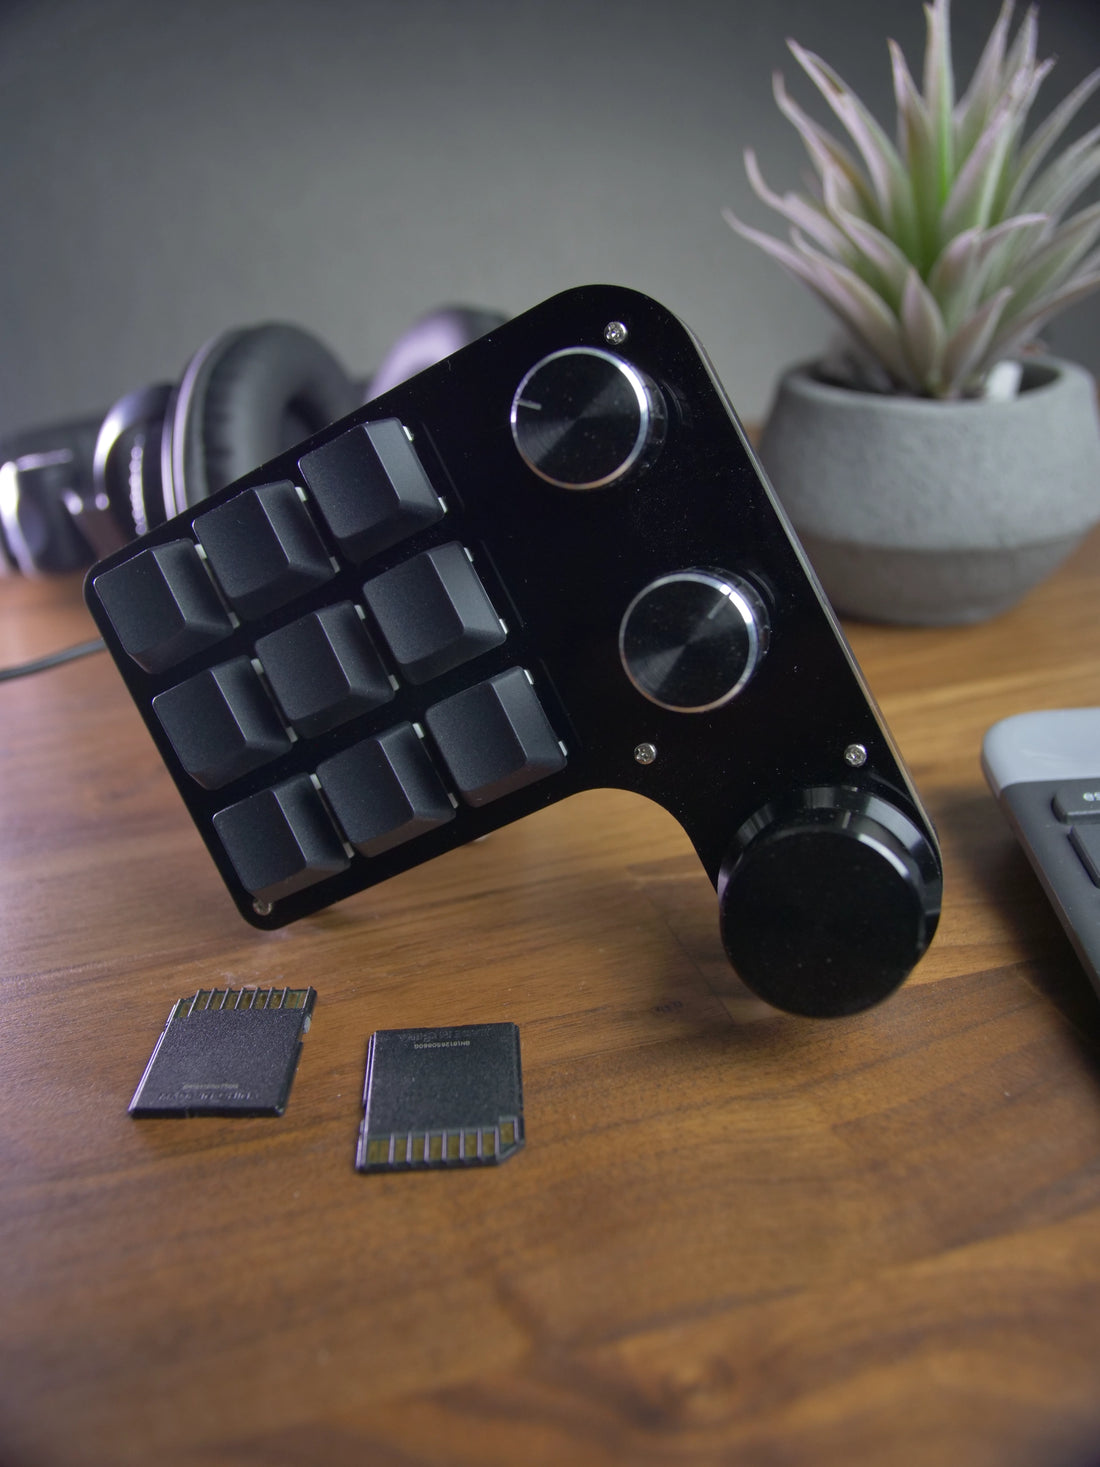
J-Cut Edit Pad Mini | User Guide
Share
Introduction
In the fast-paced world of video editing, every second counts. Whether you're a seasoned professional or an aspiring content creator, finding ways to streamline your workflow is essential. Wick Digital Shop understands the need for efficiency, and that's why we're thrilled to introduce the J-Cut Edit Pad Mini – a compact keypad designed to supercharge your editing experience!
With 9 tactile keys and 3 precision knobs, the J-Cut Edit Pad Mini is a game-changer for video editors seeking a seamless and efficient workflow on a budget. In this blog, we'll guide you through the simple and quick setup process, allowing you to harness the full potential of this mini keypad and take your editing skills to new heights.
Installation
Click here to download the latest Windows software.
- Plug in the USB-C Cable to the J-Cut Edit Pad Mini, and connect it to the computer.
- Download the latest software & double-click the install.exe file to begin the installation.
- Open the program from the desktop
Click here to download the latest macOS software.
- Double click the zip file to unzip.
- Double click Mini_Keyboard.
Assigning Keys & Knobs

Keys and knobs can be assigned to be:
- A single letter/character
- Mouse scroll up/down and left/middle/right clicks
- A combination of ctrl/shift/alt plus a letter/character or mouse scroll/click
To assign keys and knobs:
- Click Read Device to load current key assignments
- Select a key from the layout (see image above) - If you’re reassigning a key, click Clear first.
- On the on-screen keyboard, click a letter/number/character or a combination of keys to assign the selected key (Eg. To copy, click Ctrl and C).
- Click the Download button to complete the key assignment.
- To assign knobs click the left, middle or right buttons and select a key from the on-screen keyboard.
LED Backlight

- Click the RGB LED tab
- Select a LED Mode & a color.
- LED Mode 0 - Turn off LED
- LED Mode 1 - Solid Light
- LED Mode 2 - Flash Diagonal (Top left to bottom right)
- LED Mode 3 - Flash Diagonal (Bottom right to top left)
- LED Mode 4 - Flash Single Key
- LED Mode 5 - Solid White Light
- Click the Download button.
Conclusion
As we conclude this J-Cut Edit Pad Mini user guide, we hope you're as excited as we are about the prospect of transforming your editing routine. The combination of 9 tactile keys and 3 precision knobs isn't just a convenience; it's a leap forward into a more intuitive and efficient editing landscape.
Remember, the J-Cut Edit Pad Mini is not just a tool; it's your ally in the creative process. Its compact design doesn't compromise on functionality, and we believe it will become an indispensable part of your editing toolkit.
Now that you've mastered the setup and learned how to seamlessly integrate this mini keypad into your workflow, it's time to let your creativity flow without the hindrance of complex shortcuts. Wick Digital Shop is committed to providing tools that empower creators, and we can't wait to see the amazing content you'll produce with the help of the J-Cut Edit Pad Mini.
Thank you for choosing Wick Digital Shop. Happy editing!


